Showing posts with label decorating. Show all posts

Tuesday, May 24, 2011

HIGHCHAIR MAKEOVER


Here is the after shot of my "roadside" highchair. I don't have a before, but it was worn and weathered. I love the end result. I spray primed in red, put candle wax all over in random spots (then sanded after final coat), then finished in a dry brushed coat of yellow. Beautiful! It looks awesome with the pail and plants, I'll have to get a picture of that too.

The photos are not the best, I'm having a terrible time with my new camera and uploading to blogger. I had to resize the pictures, so they would download, but now you can hardly see them. Any tips?

Friday, August 6, 2010

HOO-HOO-HOOSIER?

This my friends, is what I have been waiting for. On May 1st I bought this piece for $60 for its storage possiblities and have had it at Linda's (painter ex·tra·or·di·naire) house waiting to be painted. I called her last month and told her I was ready and here it is. My beautiful distressed, taupe-ish Hoosier. I wanted it to store all my stamp supplies instead of the plastic drawers that have now overtaken the homeschool room/office. Almost all my stamp stuff fits in here, minus the stamps...I'll have to rethink that one.

The cabinet was cream with blue accents including handles. I think she did a beautiful job, it is beautiful and oh, so deep and full of places to store stuff.


From Wikipedia:

A Hoosier cabinet (also known as a "Hoosier") is a type of cupboard popular in the first decades of the twentieth century. Named after the Hoosier Manufacturing Co. of New Castle, Indiana, they were also made by several other companies, most also located in Indiana.

The typical Hoosier cabinet consists of three parts. The base section usually has one large compartment with a slide-out shelf, and several drawers to one side. Generally it sat on small casters. The top portion is shallower and has several smaller compartments with doors, with one of the larger lower compartments having a roll-top or tambour. The top and the bottom are joined by a pair of metal channels which serve as the guide for a sliding countertop, which usually has a pair of shallow drawers affixed to its underside. The whole assembly, with the counter retracted, is fairly shallow, about 2 feet deep; the width and height are generally about 4 feet and 6 feet respectively.

Tuesday, June 1, 2010

MAMA AND THE CHEESE DOMES


You know you're popular when someone writes a story about you, but you know your FAMOUS when your daughter does. Here is a story by my guest blogger Isabella:

MAMA AND THE CHEESE DOMES

My mom LOVES cheese domes. Just one time she didn’t get one, but other than that, she can’t resist! She spray paints them and puts birds that we paint and glaze under them. Blaaah! Cheese domes! Ding-dong! Cheese domes! Everywhere! I just have to make up with them and well, I’ll live. She just got another one! Sometimes she goes to Goodwill and gets stands for them. She just got another one! She just got finished painting it. I have to admit, they are pretty. I guess that’s why she likes them. Before they are made pretty, the cheese domes sit in our garage till she gets an idea. She just just got one and put a tea cup under it. She is going to sell it at One of a Kind. That place is an antique shop. She runs a business called Tea and Traditions. As you can see, it is a tea business.

The End

Everything she says in the story is true. I'm starting to feel withdrawals (it looks like it is spelled wrong, but it is not...I checked) because I only have two cheese domes left after these go to One of a Kind. It's an addiction! Is that possible? To cheese domes? Seriously? I guess it can happen. I love them because they make pretty things look even more beautiful. The robin's eggs are painted Easter eggs speckled with brown paint and the brown eggs in the cream colored bowl are Easter eggs covered in jute (my new favorite embellishment). One thing I love about the birds is that Isabella and I do those together, I paint and she glazes. As she is getting older she can help me more and we are having fun! The little ones do what they can too, after all it is a family business. Most customers have met or heard my children on at least one occasion.

The cheese dome with the white stand was an old cheese dome with wooden plate. I attached a wooden candlestick, painted it and distressed it. The glass stand is a glass candlestick attached to a glass plate with a cheese dome on top.

I'm moving to a new space at One of a Kind, so I'll post pictures soon.

Joining Coastal Charm for Nifty Thrifty Tuesday


Monday, May 24, 2010

OUTDOOR CHANDELIER


I took one of these...not sure what they are called. Anyone know? I got it at a yard sale years ago and it has rusted in my garden. I've never known quite what to do with it...that is, until now!


I had leftover chain and S-hooks from a birdbath that I did not hang and had an idea to make this beauty - my new "outdoor chandelier"! The glass hurricane fits perfectly in there with seashells and a glass pillar from Dollar Tree. I can change the look anytime by adding different items.


View from the side


View from the top


At a distance


My new centerpiece on the table is a terra cotta saucer with sheet moss in the bottom. I covered a dollar tree glass pillar candle with sheet moss (also $1), added ivy to Isabella's mosaic pot and painted a $1 birdhouse to make this centerpiece. I also layered a doily over a round placement for added interest. The glow of the candle looks beautiful through the sheet moss.


I also, covered an older pot that I just did not like anymore with jute. I love the result and can't wait to plant something in there.


Joining Metamorphosis Monday, Nifty Thrifty Tuesday and Outdoor Wednesday


 http://linda-coastalcharm.blogspot.com/


Tuesday, May 11, 2010

SCREENED PORCH PROGRESS

Joining A Southern Daydreamer for Outdoor Wednesday

This shelf came from my mom's house and it has been in the garage for months, but while cleaning on Friday I decided it would fit perfect in this corner of the screened porch. The bird's nest that is sitting on the third shelf consists of two spray painted dollar tree birds which my daughter glazed for me, a little Spanish moss and a terra cotta saucer. I love this look that cost only $3 to make. Love you Dollar Tree!

The plaques in the background were a thrift store find that I spray painted, sanded and glazed.

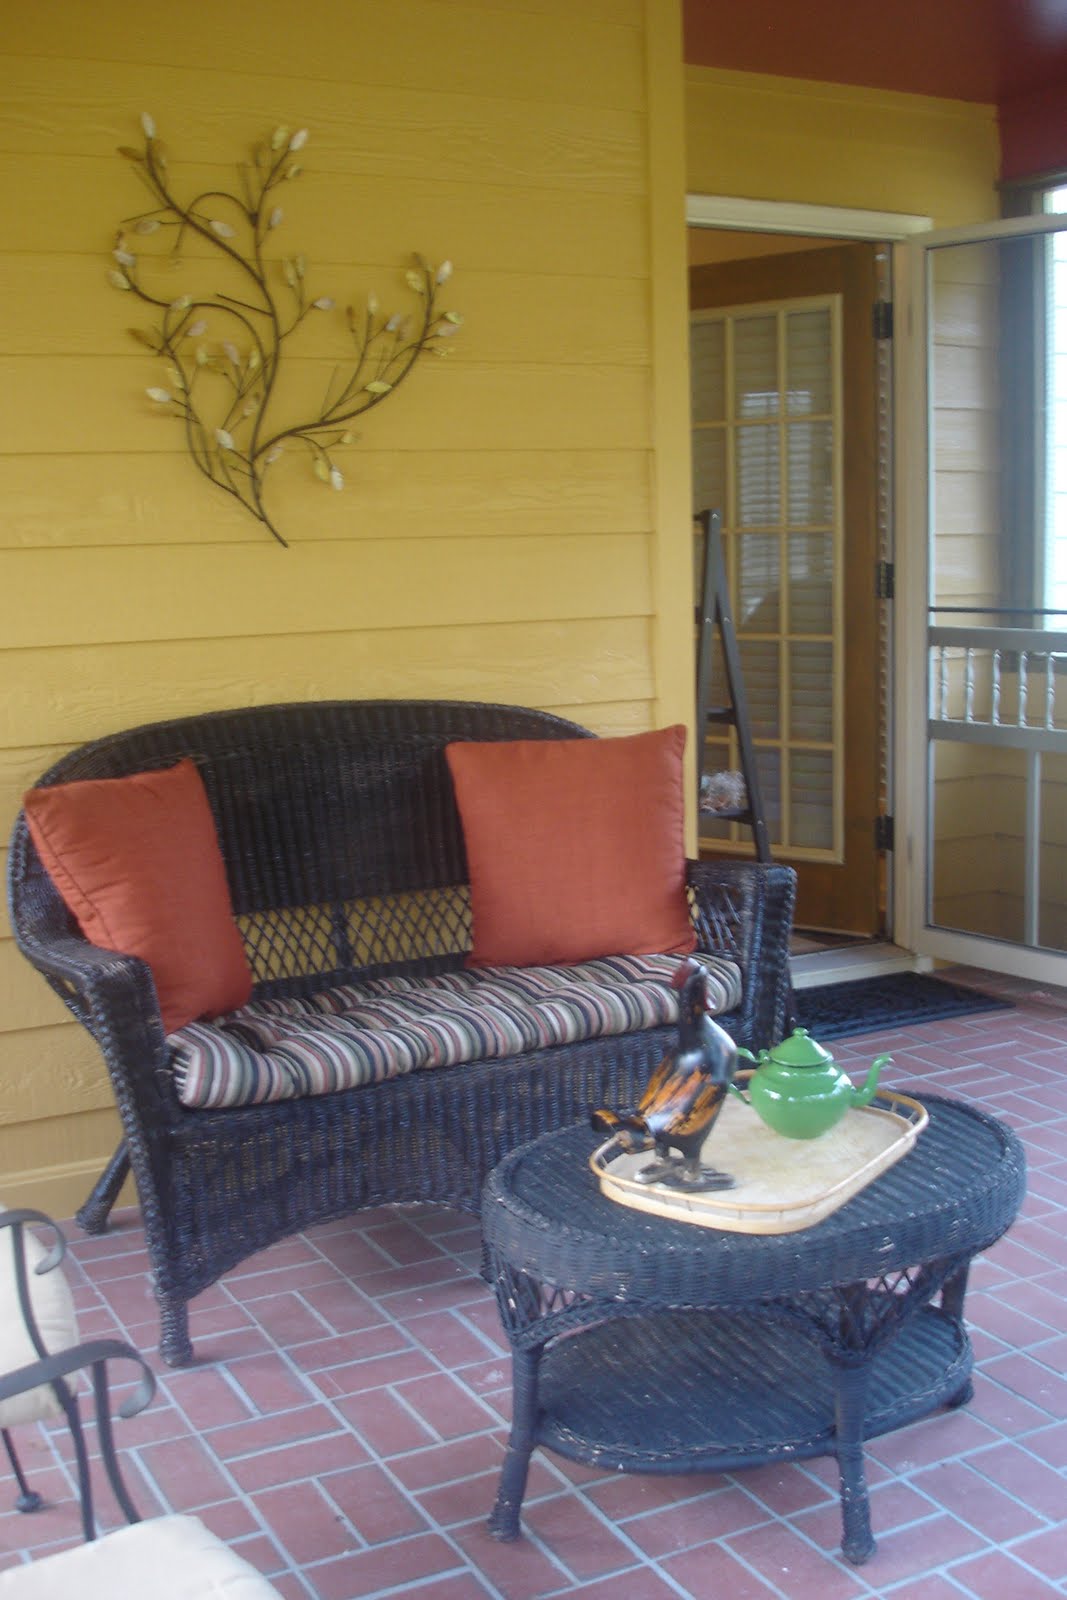
This is one sitting area in the porch. My husband bought me those indoor/outdoor pillows at Costco for Mother's Day, $14.39 for two...great deal! I'm still working on accessorizing the coffee table, any suggestions welcome! I found the tin teapot today and am ecstatic with it. I'm all about tea and this works well out here because I won't be afraid for it to get broken. It says made in Yugoslavia which makes me want to look it up and discover its history, if it doesn't have one it soon will...
Another corner of the porch that needs some attention. I would like to get more plants to fill in the wash tub. I found the Contorted Filbert today for $5 for a big bunch. I love it!

Yet, another corner...every room has four! Here is my favorite piece in the porch, my birdbath found at a yard sale years ago for $25, she has aged well. And more pillows from Costco.

A cozy sitting area with my favorite "new" find a vintage scale found at One of a Kind's Market Day a couple of week's ago.

A little bistro set I picked up on clearance at Target years ago with some beaded balls I found at Goodwill for .99 for all three. The balls are nestled in moss in another terra cotta saucer...I have two more left in the attic, so they show up again. The trim propped up against the chair will be hung from the molding on top of the screens, found those today along with the teapot and Contorted Filbert.

Any tips for accessorizing welcome, but be nice!

To see other great spaces and projects visit A Southern Daydreamer's Outdoor Wednesday

Monday, May 10, 2010

UH-MAZING DOLLAR TREE


Needed something to go over the dandelion vinyl cling from Stampin Up in the girls/guest bathroom - enter Dollar Tree. Total project cost $4 for the frames at Dollar Tree. I used scrapbook paper and the bird punch from Stampin Up to do the rest (they were already on hand). Love the result!

Just goes to show, it does not take a lot of money or time (took about 30 minutes to put together) to decorate.

I have big plans for those cabinets, stay tuned for the reveal. I also purchased a gorgeous mirror to go on top of the vanity, just trying to figure out if I'm painting it or not...maybe I'll let you be the judge?

Linking to Southern Hospitality's Thrifty Treasures and Coastal Charm's Nifty Thrifty Tuesdays

Tuesday, April 27, 2010

FIRST BIRTHDAY - DECORATIONS AND FAVORS

I found this bulletin board at Goodwill for $4.64 a week before the party, with no intention of using it for the party, well, that is until I had this brainstorm. I used fancy fibers and yarn to cover the board and printed Happy Birthday on cardstock. I cut out the letters using a circle cutter and matted them. I attached them to the fancy fibers with binder clips. I printed baby pictures of Judah and did the same. I had an extra smaller palm tree that I cut up and stapled behind the pictures for added color and texture. I love the way it turned out!

This was on the front door, I used one of the napkins and attached it with brads to a piece of cork I had and placed it in the center of the wreath.
These are the beach balls we gave away as favors, they were in the shape of jungle animals and there were glasses to match. The kids had a ball with these.
This guy is from Judah's shower, isn't he cute sitting on the palm tree?

This was the table in the foyer. It has a palm tree with another lion, the glasses, a photo frame with Judah's birth announcement in it and a digital frame with a slideshow of his birth picture.

These are Annais' monkeys that he let us borrow for the occassion.


Tuesday, April 20, 2010

A HORSE IS A HORSE

These petticoat hanging lampshades inspired me months ago and I have been looking for the perfect project to knock-off this shade. I found it! A $13 (including shade) horse lamp for my daughter who loves all things horse.

This is exactly what it looked like when I brought it home. Isabella posing proudly with her now trash, soon to be treasure. I love that she can envision all that I tell her I am planning to do. So, it was off to Michael's, Hobby Lobby and Jo-Ann's - we completed the crafting triathlon in under two hours at rush hour...not bad for metro Atlanta.Here we are prepped and ready to paint, she chose white. She also handed me a McDonald's french fry bag (when you have four little ones these are readily available on your garage floor) to cover the light socket and knob. She's a born crafter!Here are the first three layers of our petticoat knock-0ff. I ripped off the cowboy fringe and hot glued eyelet fringe around the shade.Do you like my hat?
Voila! The finished product. The lamp is metal, so the body area can be used as a magnet board. I am working on making some spectacular magnets to finish it off. I am re-doing the second row of eyelet because it is not spaced right.

I covered the horse with a floral scrapbook paper, again the ole' trace, cut and paste (spray adhesive) method. I sanded around the edges for a more finished, shabby look.
In retrospect, I would spray paint the shade white first or cover it with white fabric. The picture below is after I adjusted the second row of eyelet.

Linking to Trash to Treasure Tuesday at Reinvented and Nifty Thrifty Tuesday at Coastal Charm - check out these sites for other AWESOME ideas, tips and transformations.


Blog Widget by LinkWithin